
My Art Studio Hanging System
Brantley and I finished installing my art studio hanging system this week, and I’ve already had several artists ask me about it, so I thought I’d share how we did it!
Tools:
Measuring tape
Pencil
Level
Stud finder
Drill
Ladder
Saw
Supplies:
Primed 1”x3”x8’ pine boards
2-1/4”x8 white screws
1-5/8”x8 white screws

Steps:
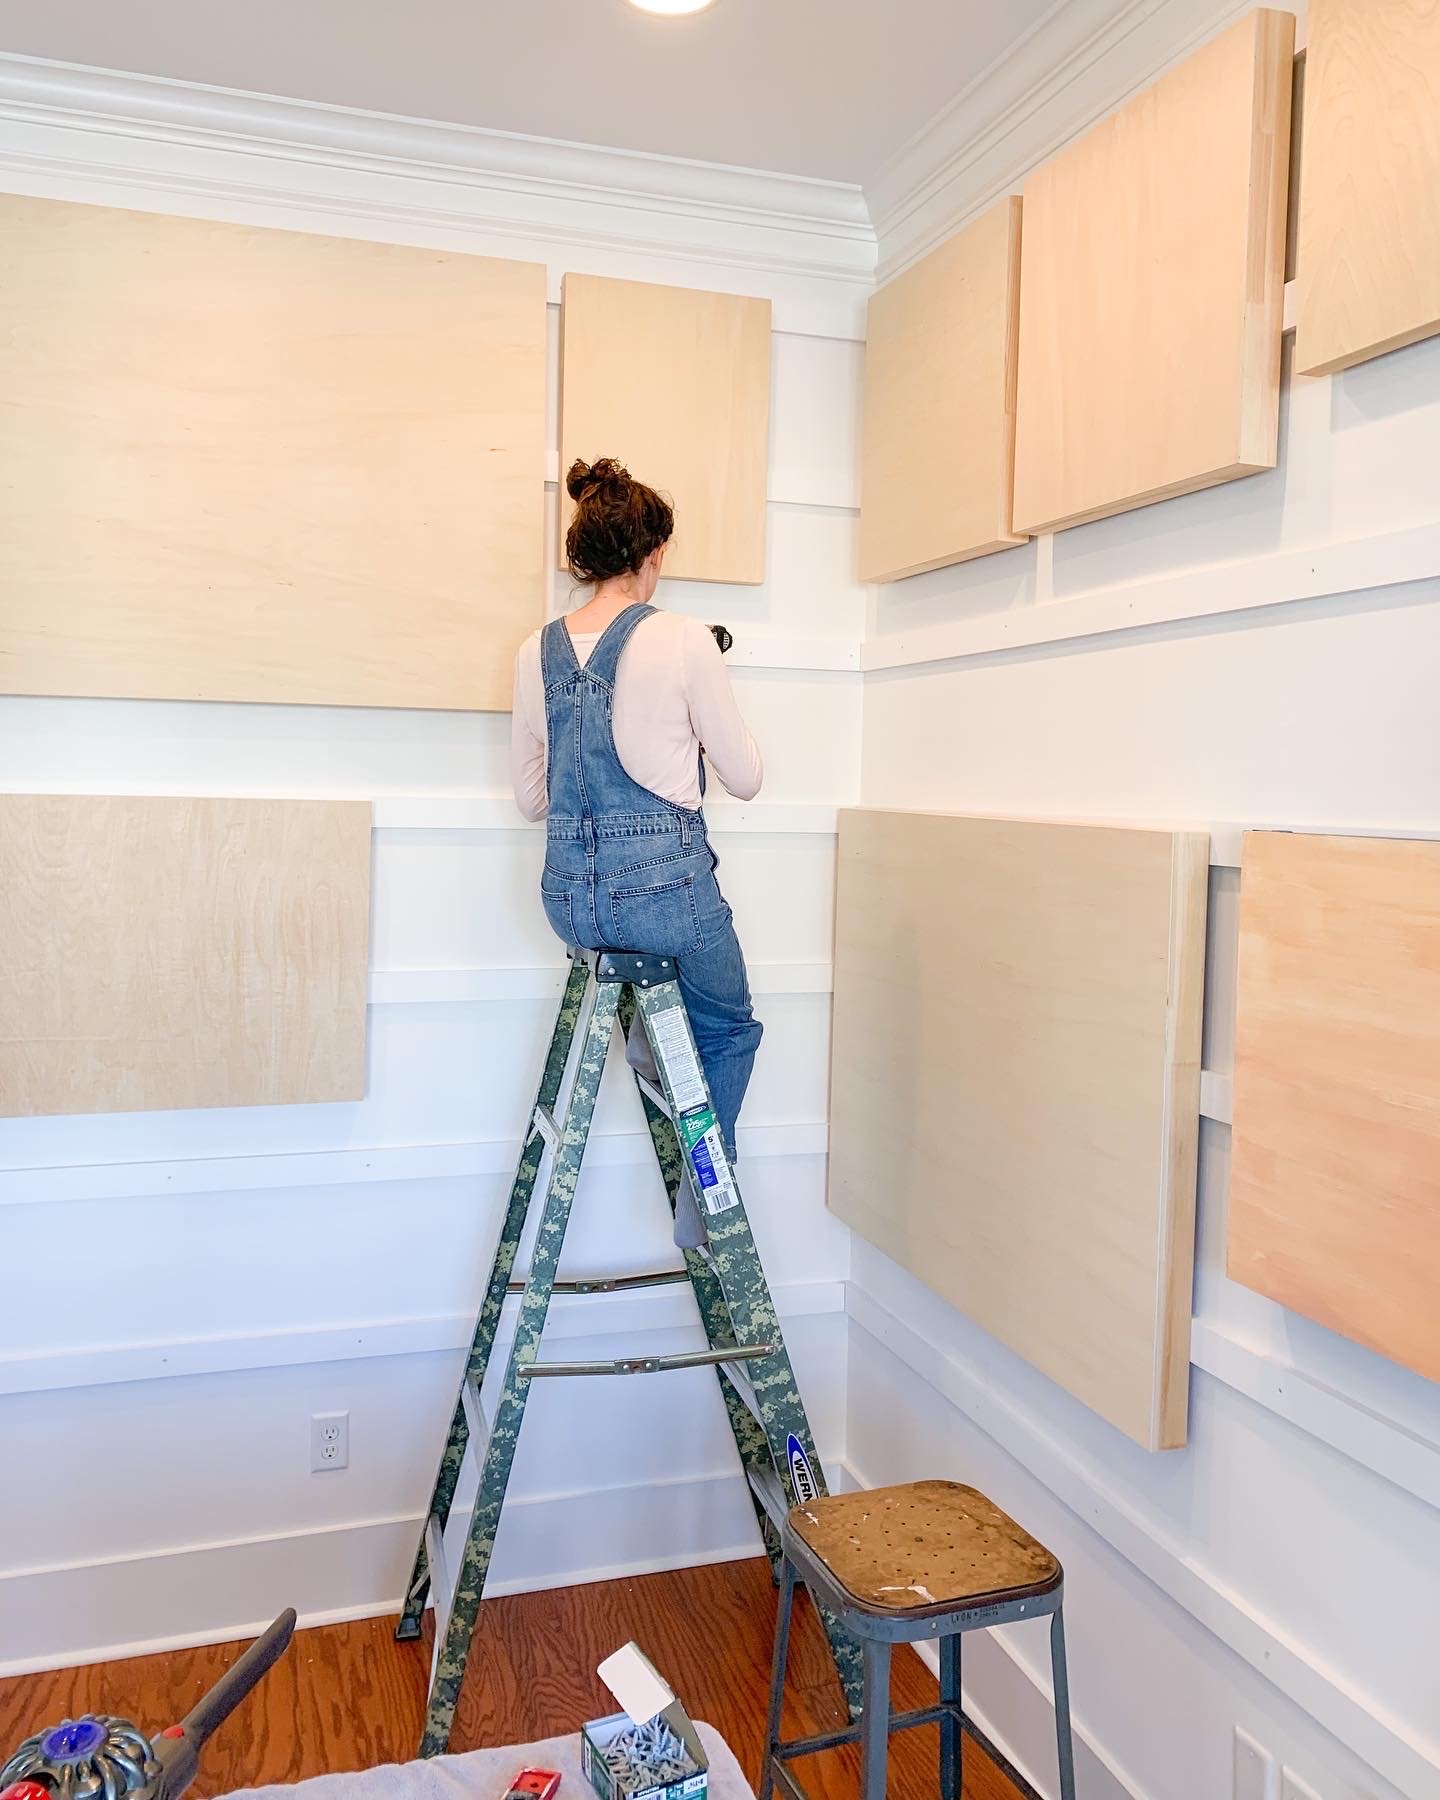
We have 10’ ceilings so we decided to go with seven rows, 12” apart.
We started at the bottom of the longer wall (so we didn’t have to cut boards). I measured up 12” and marked the wall to give us a couple of guides on either end.
Then we held the first board up on either end, using my marks as a guide, and using the level and measuring tape to make sure it was at the appropriate height.
Still holding the board. Brantley used the stud finder to find a stud near the middle and drilled a 2-1/4”x8 white screw through the center of the board into the wall.
At that point we were able to let go of the board, double-check that we were level and drill screws into the rest of the studs along the board.
Then we repeated steps 1–4 until we got to the top of the wall. Then we repeated the process on the next wall, where we did have to cut the boards to fit on the smaller wall.
After all of the boards were attached, I used a drill to add the 1-5/8”x8 screws into the boards where I wanted to hang paintings. I just add and remove screws as I need them. (By adding the screws into the boards: I’m putting less holes in the wall, I have a guide to help me keep them level and it’s sturdier to hold my wood panels.)